Chemist

The action of this job consists of preparing medications and storing them in specially designated spaces, from where you will obtain money and, sometimes, certain medical/addiction kits.
General Characteristics
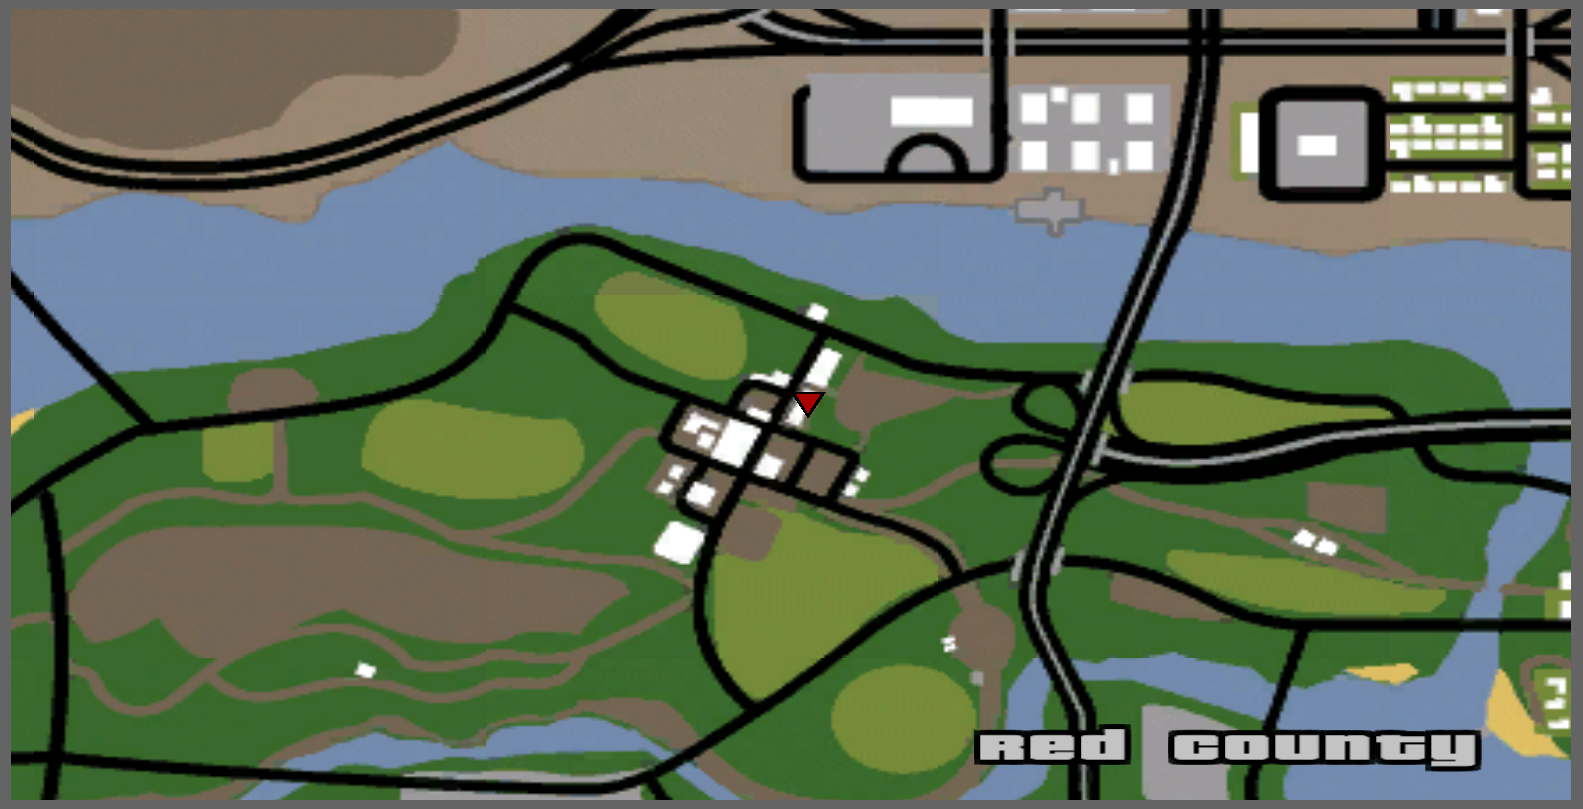
- The job is located in Los Santos city in Montgomery area and can be used from level 1.
- By typing the /work command you will start working at the job, being placed in a specially arranged interior.
- The job brings you 6XP to marathon if it is active and 6XP to clan.
- The job can only be started with a clean record (without having wanted).
Starting the Generators
- When you start the job, you will notice that the generators require manual starting. You will need to move to the generator area to activate them. There will be 5 generators that require starting.
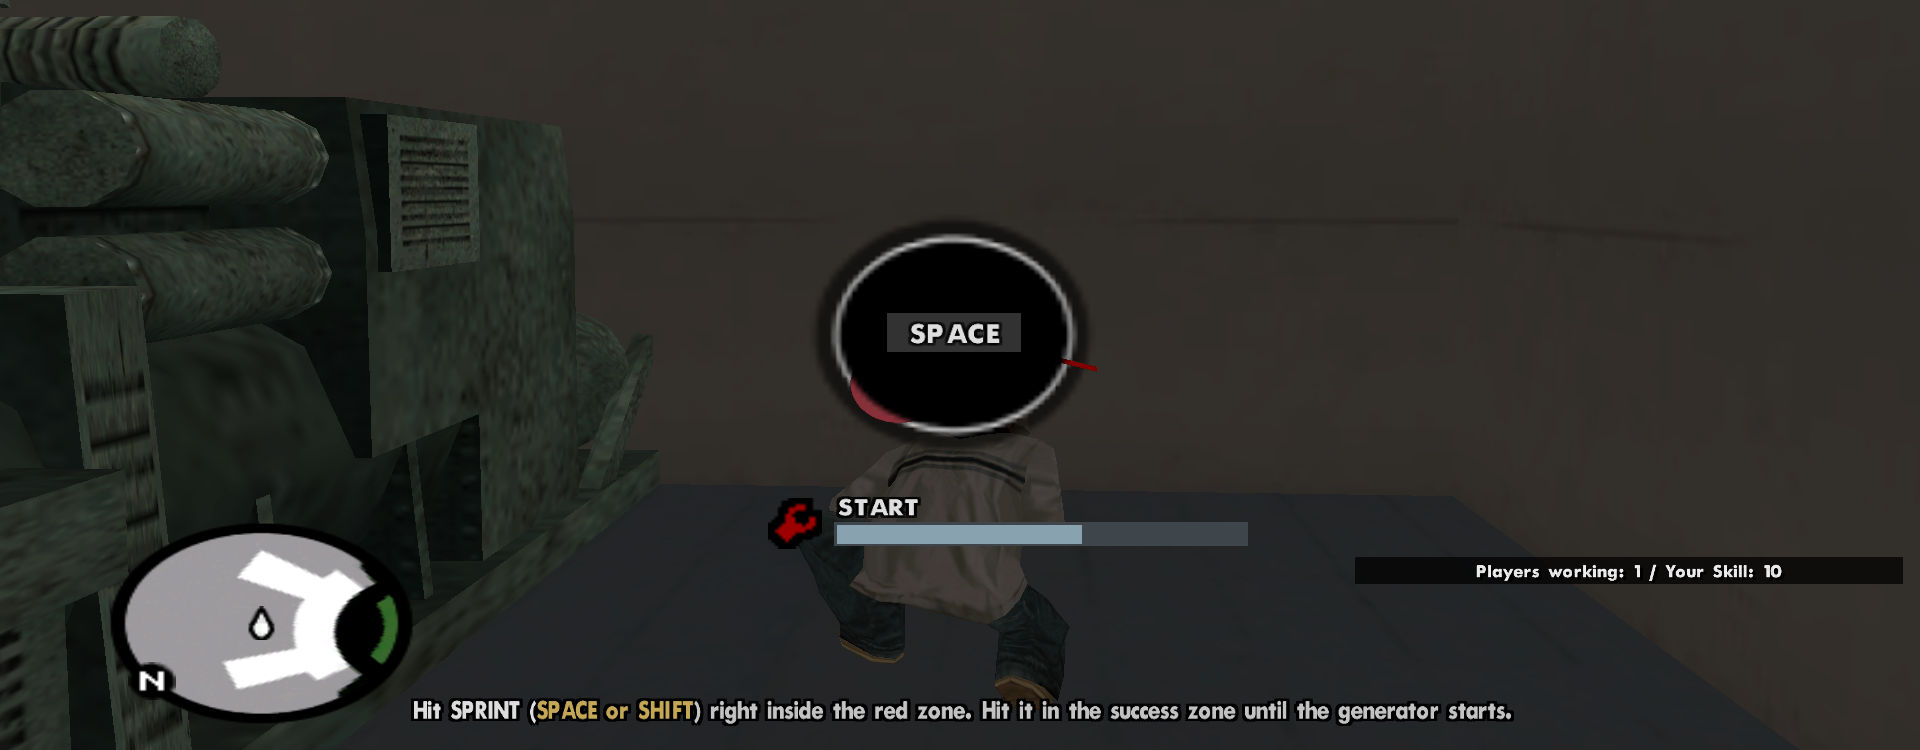
- Starting consists of a reflex-based minigame. (see image #2)
- A progress bar with a sliding cursor and a success zone marked with a red semicircle will appear on the screen.
- To start the systems, you must press the SPRINT key (Space or Shift) when the sliding cursor reaches the red semicircle area.
- When pressed correctly, you will be added 20% progress to start the generator, failing to press correctly will subtract 10% of that progress.
- To start the generator you will need 100% progress.
- Progress is indicated by a progress bar displayed below the generator start minigame.
Chemical Processing Tables
- Once the power is restored, the real work of the chemist begins at the work tables.
- To keep the job exciting, the system will completely randomly choose one of the two minigames available at this station:
- Substance Filtration:
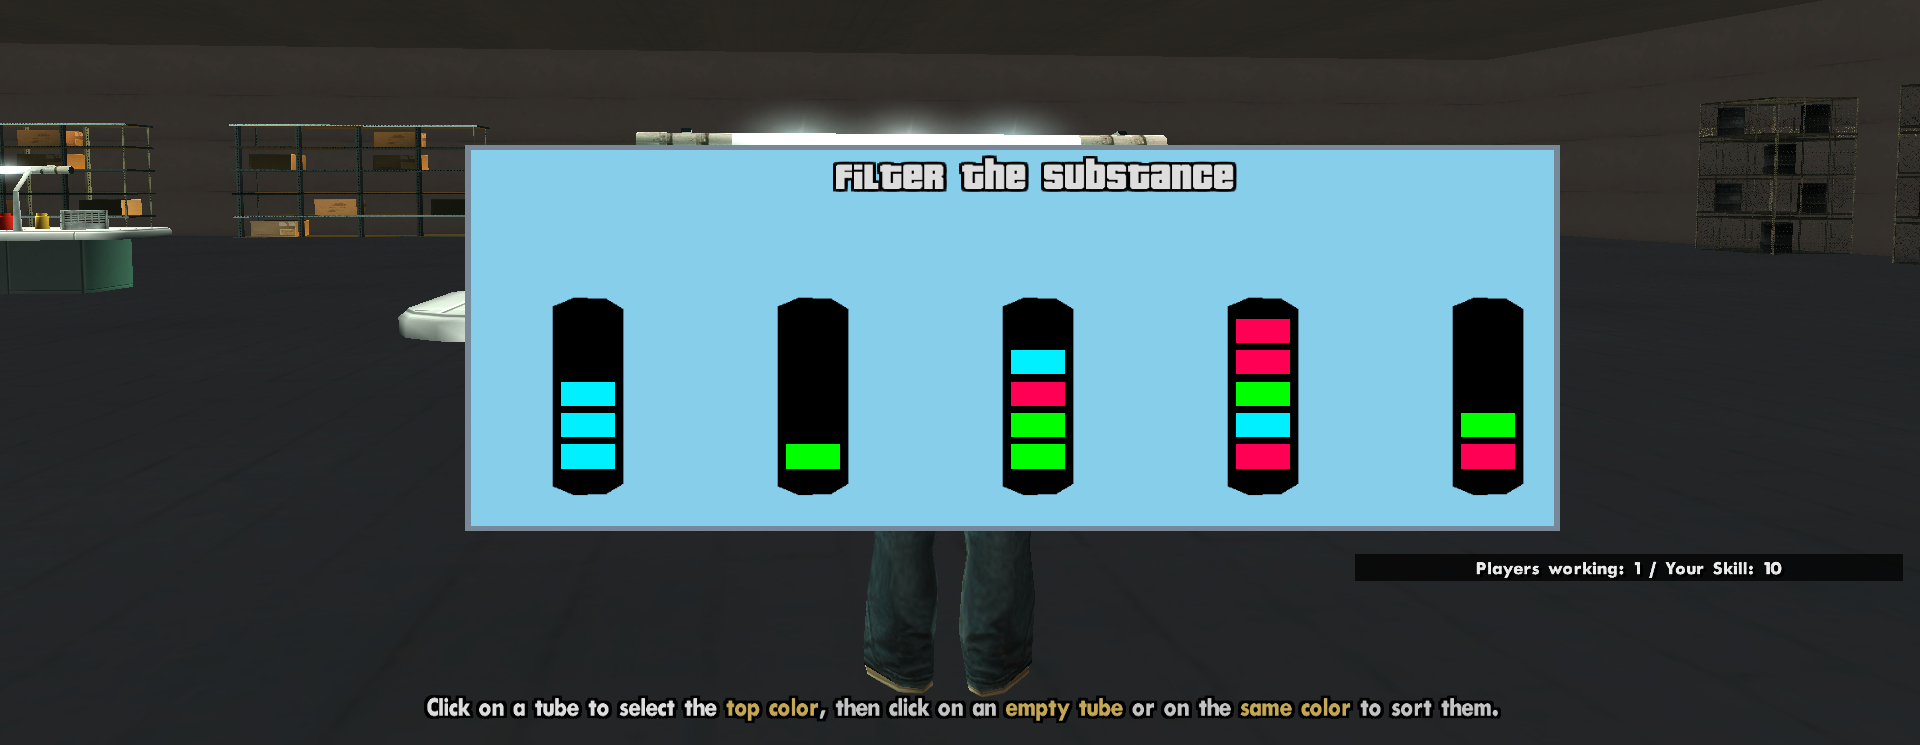
- A visual and logical puzzle that recreates the process of filtering substances. (see image #3)
- The player will interact with a set of test tubes and will have to manually select the correct colors from the test tubes, pouring liquids layer by layer from one test tube to the other.
- Temperature Control:
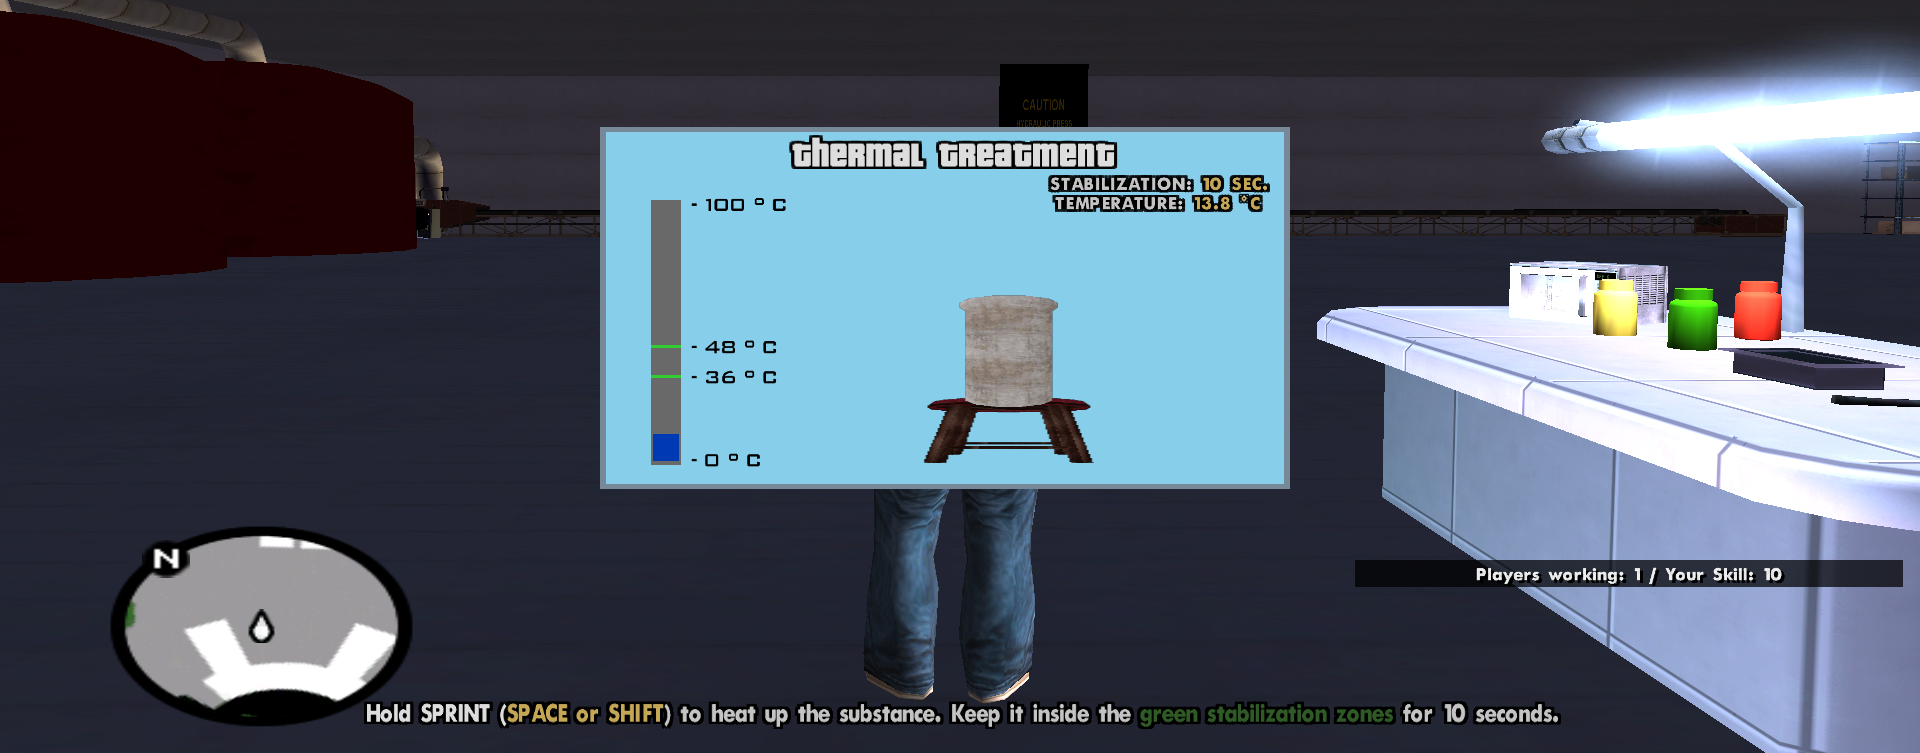
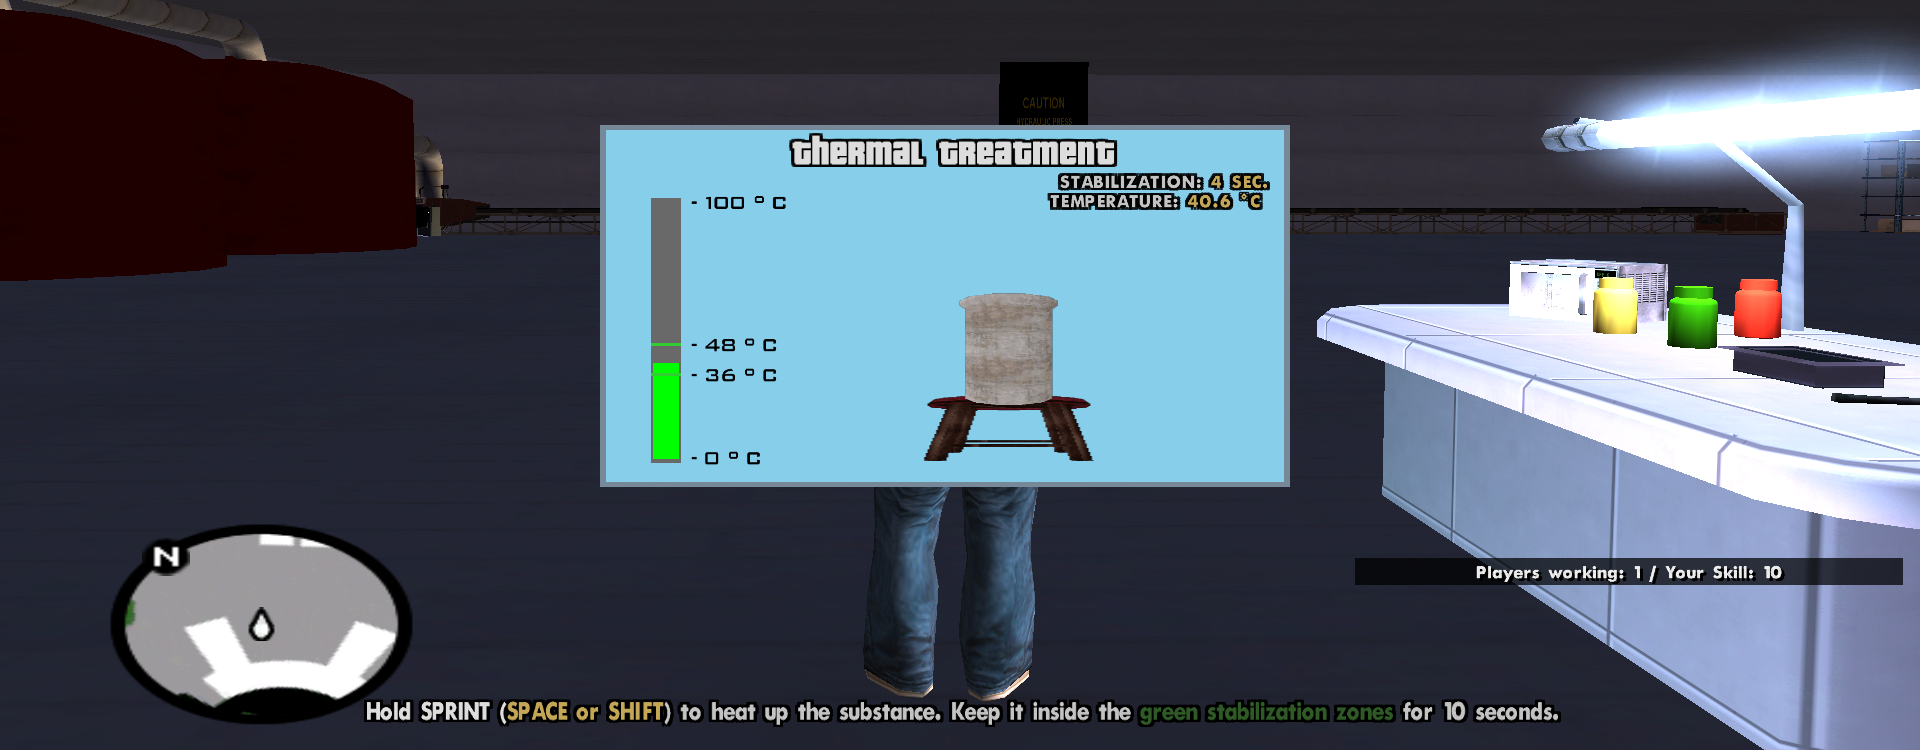
- Certain chemical reactions are extremely volatile and require a strict temperature. (see images #4)
- An interface with a thermometer will appear on the screen, and your goal is to constantly intervene to increase or decrease the temperature of the solution.
- You will need to maintain the temperature level exactly between the minimum and maximum value indicated by the recipe for a few seconds.
- To maintain this temperature at the optimal level, you will need to hold down the Sprint key (Space or Shift, depending on how each player has the sprint key configured in the game settings) to increase the temperature, when you notice that the temperature increases too much, you will need to release the key to let the temperature decrease, this process must be repeated to maintain the temperature within the range offered by the minigame.
- If the temperature is not in that range, the stability progress will decrease and you will need to wait several seconds until the substance becomes thermally stable, if the temperature is in that range the stability time will decrease, when the time reaches zero then the substance is stable and the minigame is completed.
- Substance Filtration:
Fluid Level Control
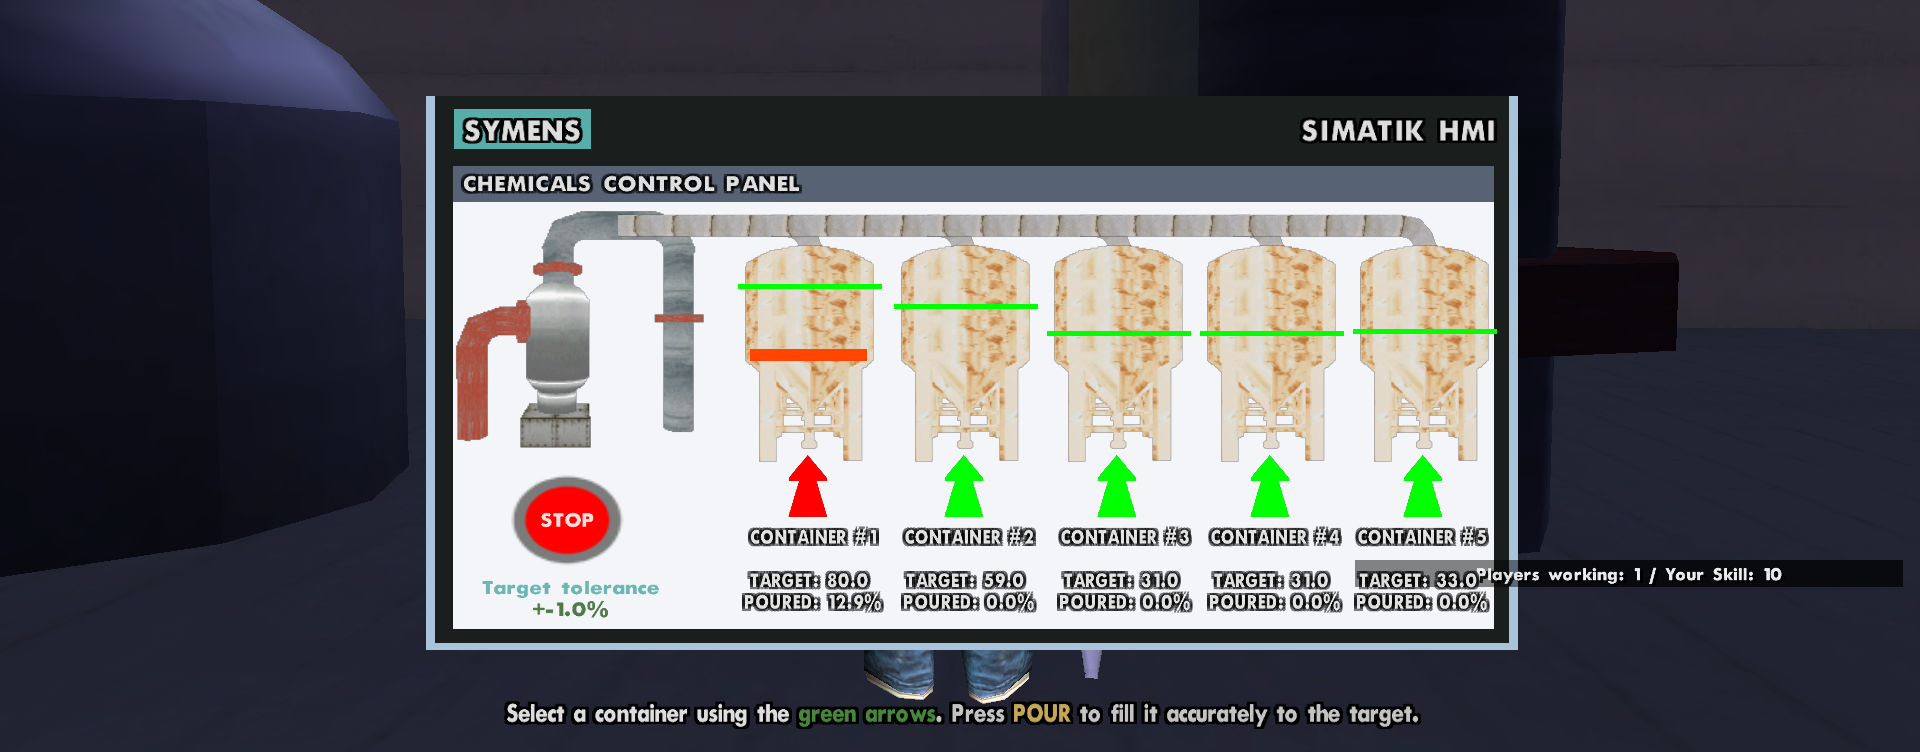
- The chemicals obtained on the tables must now be transferred very carefully into the large storage containers of the laboratory. The player will move to the central console and access the HMI digital interface. (see image #5)
- A new interface will be opened, the interface will display the optimal level that the liquids should have in the containers, the level will be indicated as a percentage under the container, but also as a green line, marking the level to which the user must fill the respective container.
- The current level of the substance in a container will be displayed both as a percentage, under the container, and in visual form, the amount of substance being displayed by a rectangle that increases its volume depending on the volume poured into the container.
- The interface offers a button called POUR or STOP, to open the valve and allow the liquid to flow into the container you will have to press POUR, after pressing the button will change to STOP, you will press STOP when the liquid level in the container reaches very close to the ideal level.
- The tolerance allowed is +-1.0%, if you fill the tank more or less than 1.0%, the container will be considered full, if you fill it more than 1.0% above the optimal level, the container will activate the automatic self-draining system and completely empty the container, requiring refilling.
Hydraulic Press
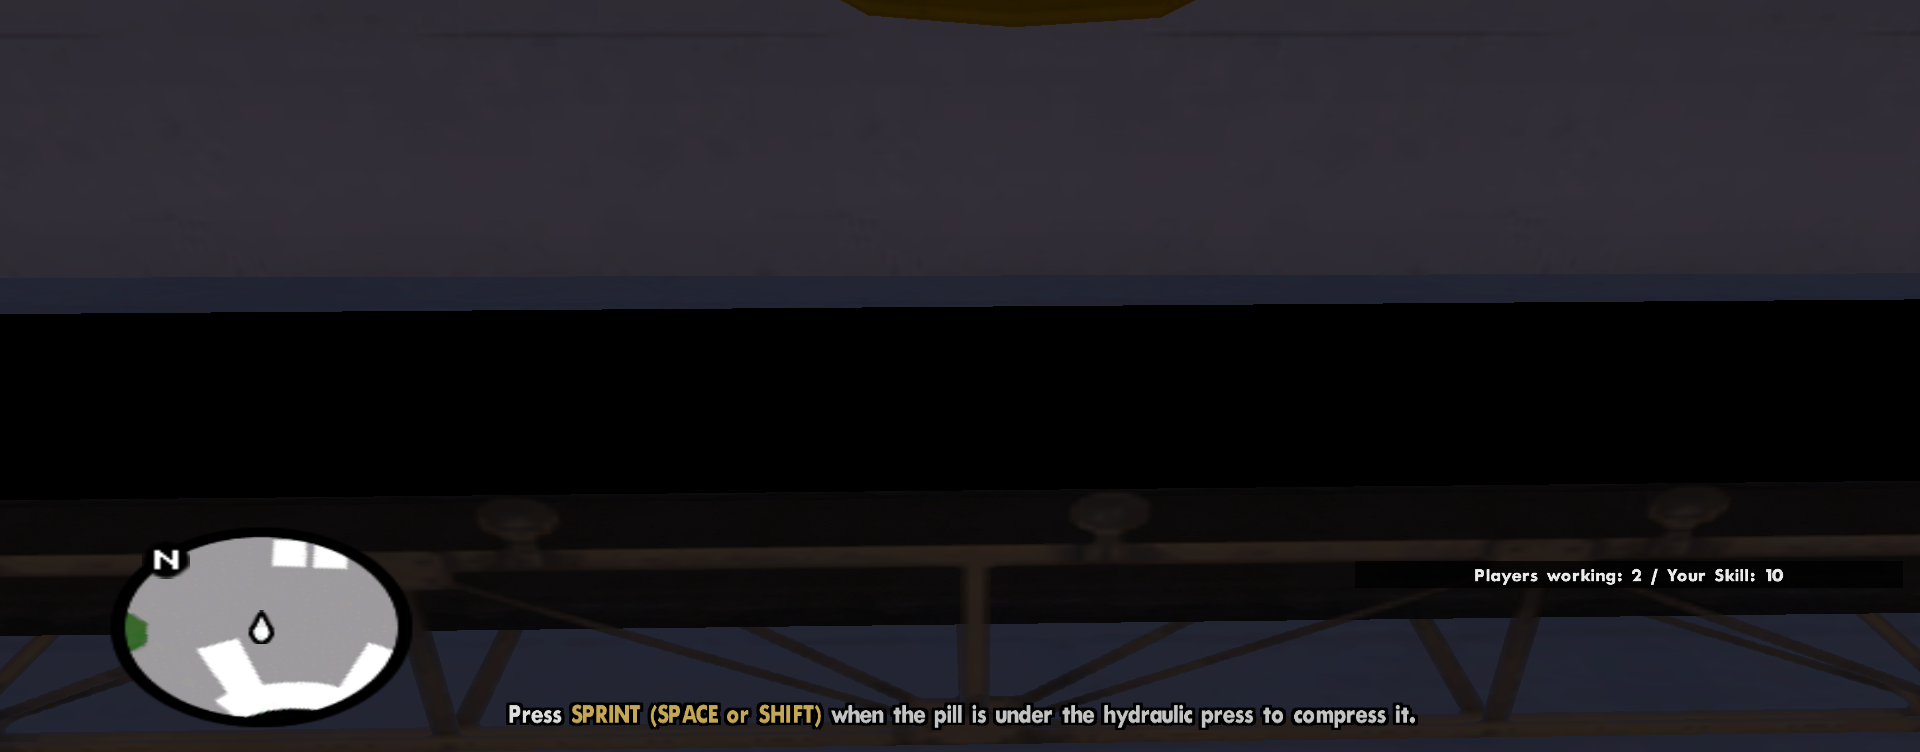
- The perfectly dosed liquid now goes to the pill forming line. (see images #6)
- You will move to the computer that controls the laboratory's hydraulic press.
- Once here, your room will be set to the hydraulic press, uncompacted pills will circulate on the conveyor belt, requiring them to be pressed using the hydraulic press to compact them.
- To compact a pill, you will need to press the Sprint key (Space or Shift) when the pill reaches the press.
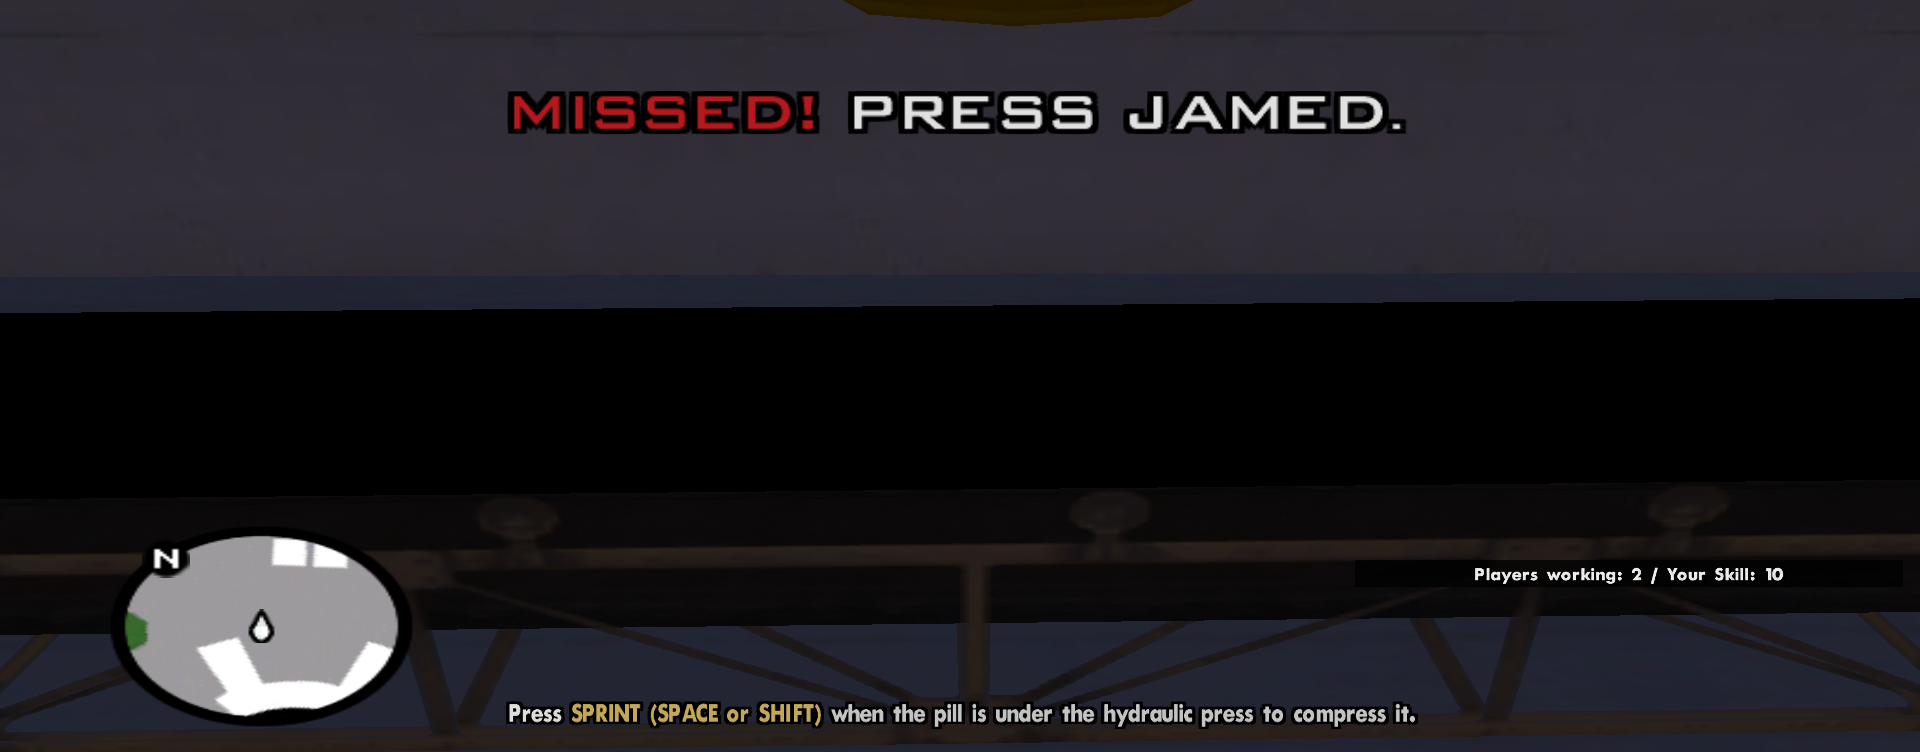
- If you press at the right time, the pill will be compacted and you will be given progress, if you miss, the press will be blocked for 2 seconds, during which time you cannot lower the press.
- To complete the minigame you need at least 10 compacted pills.
Packing Table
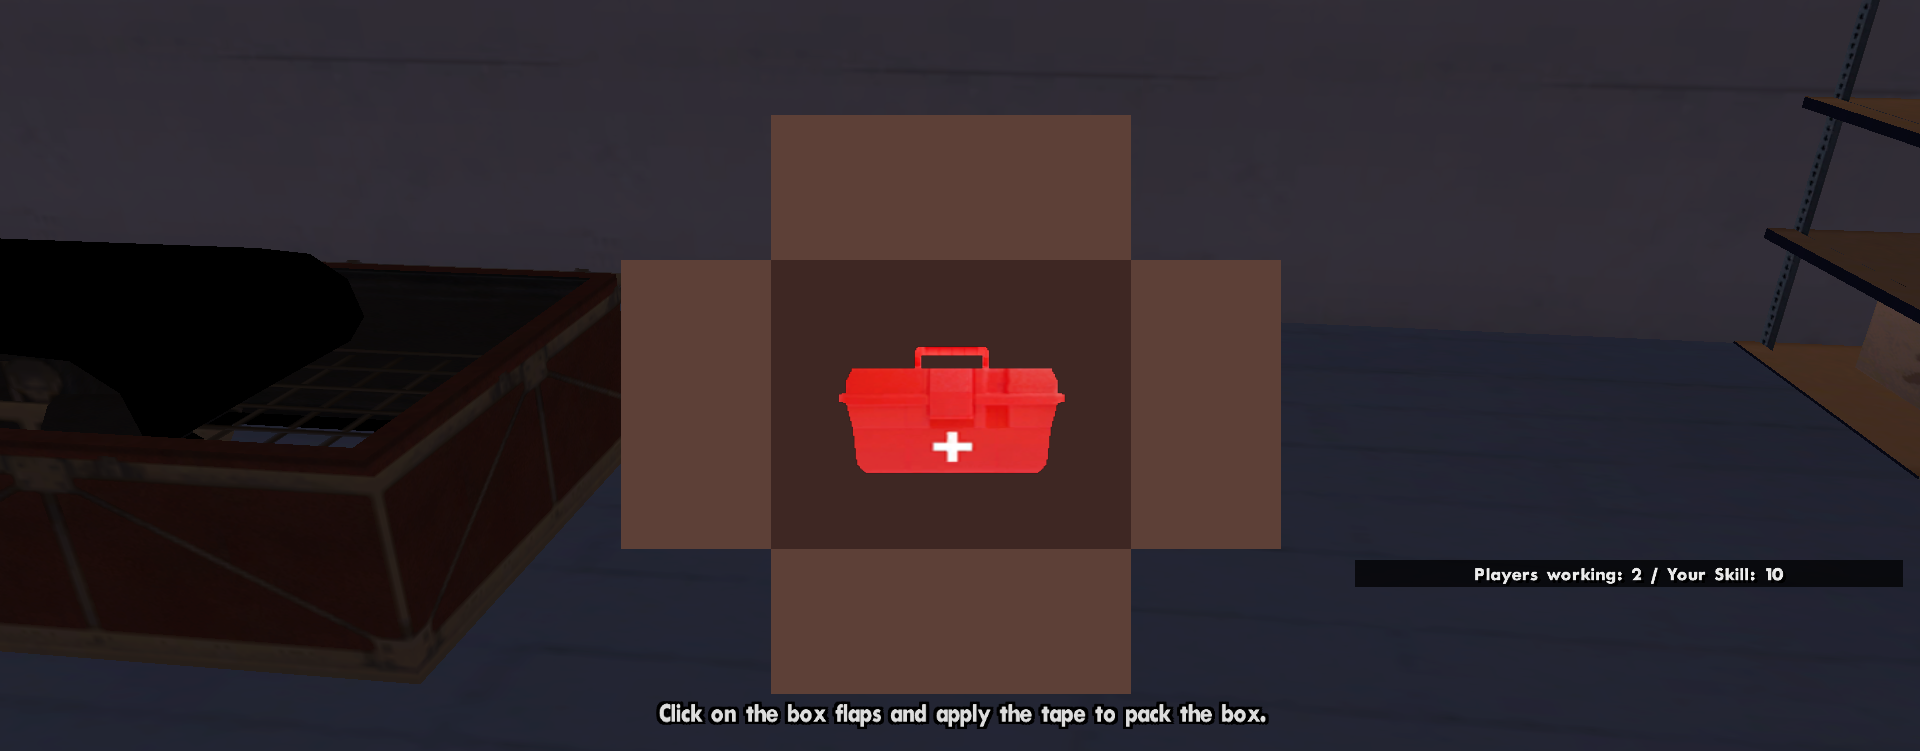
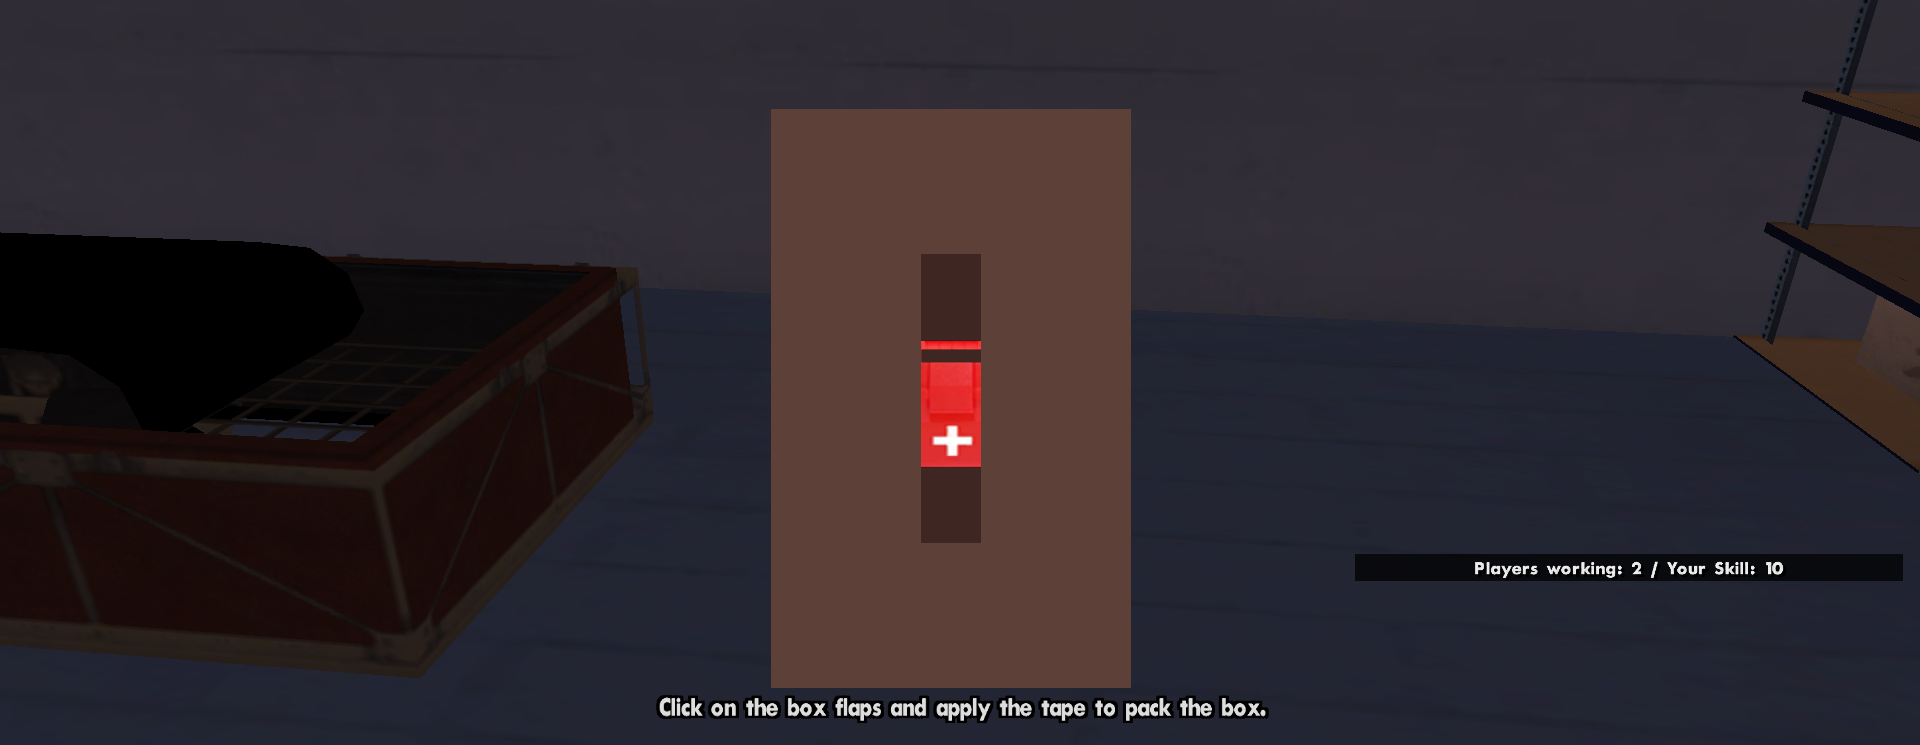
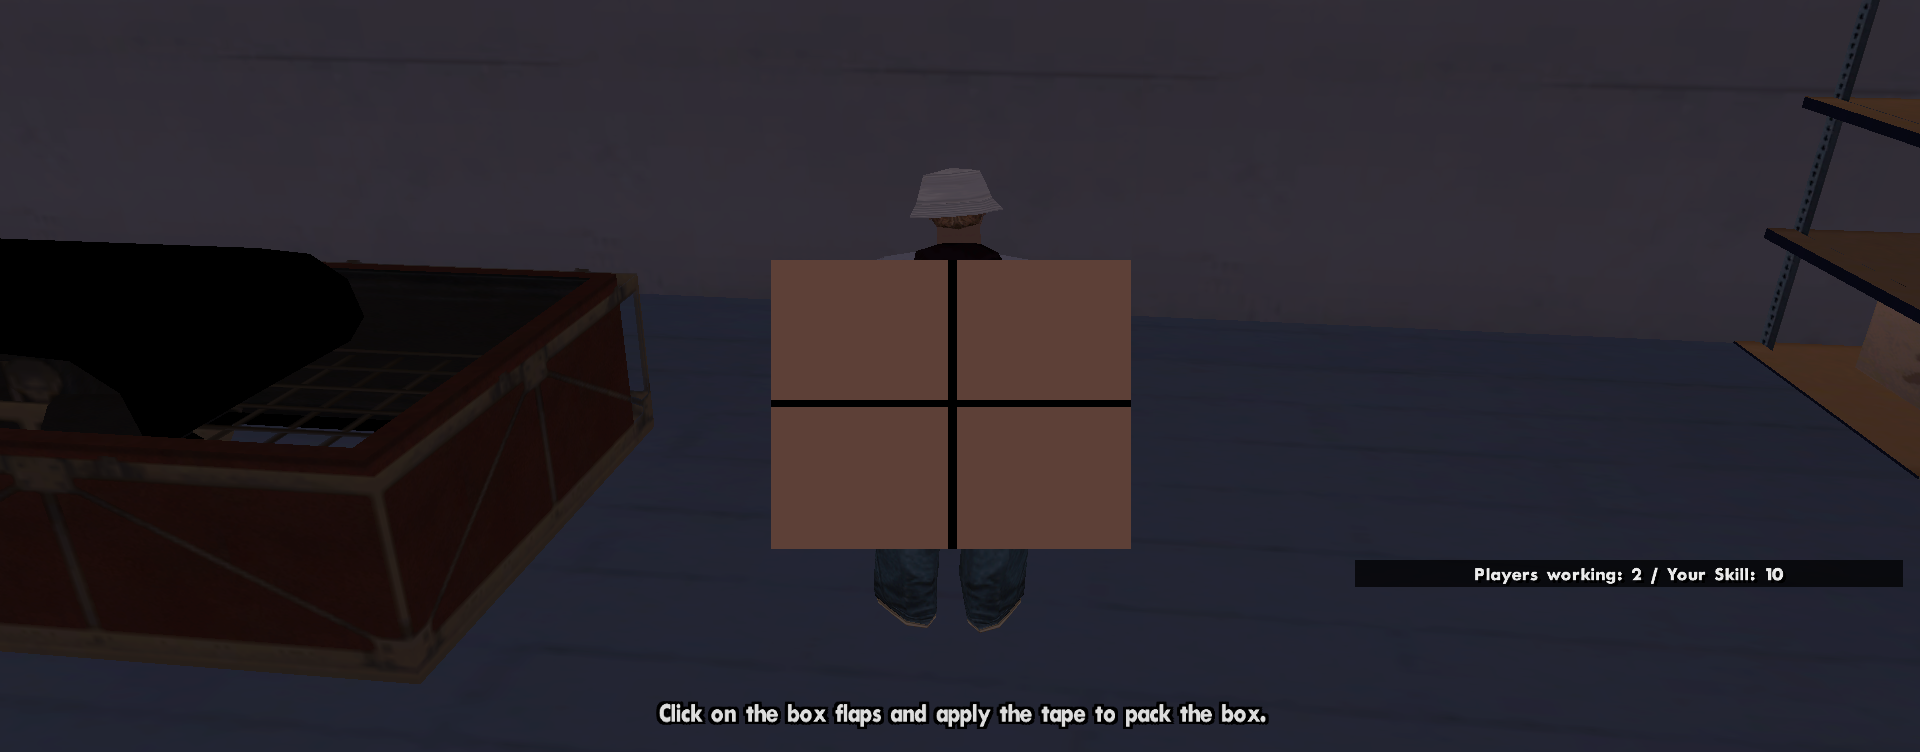
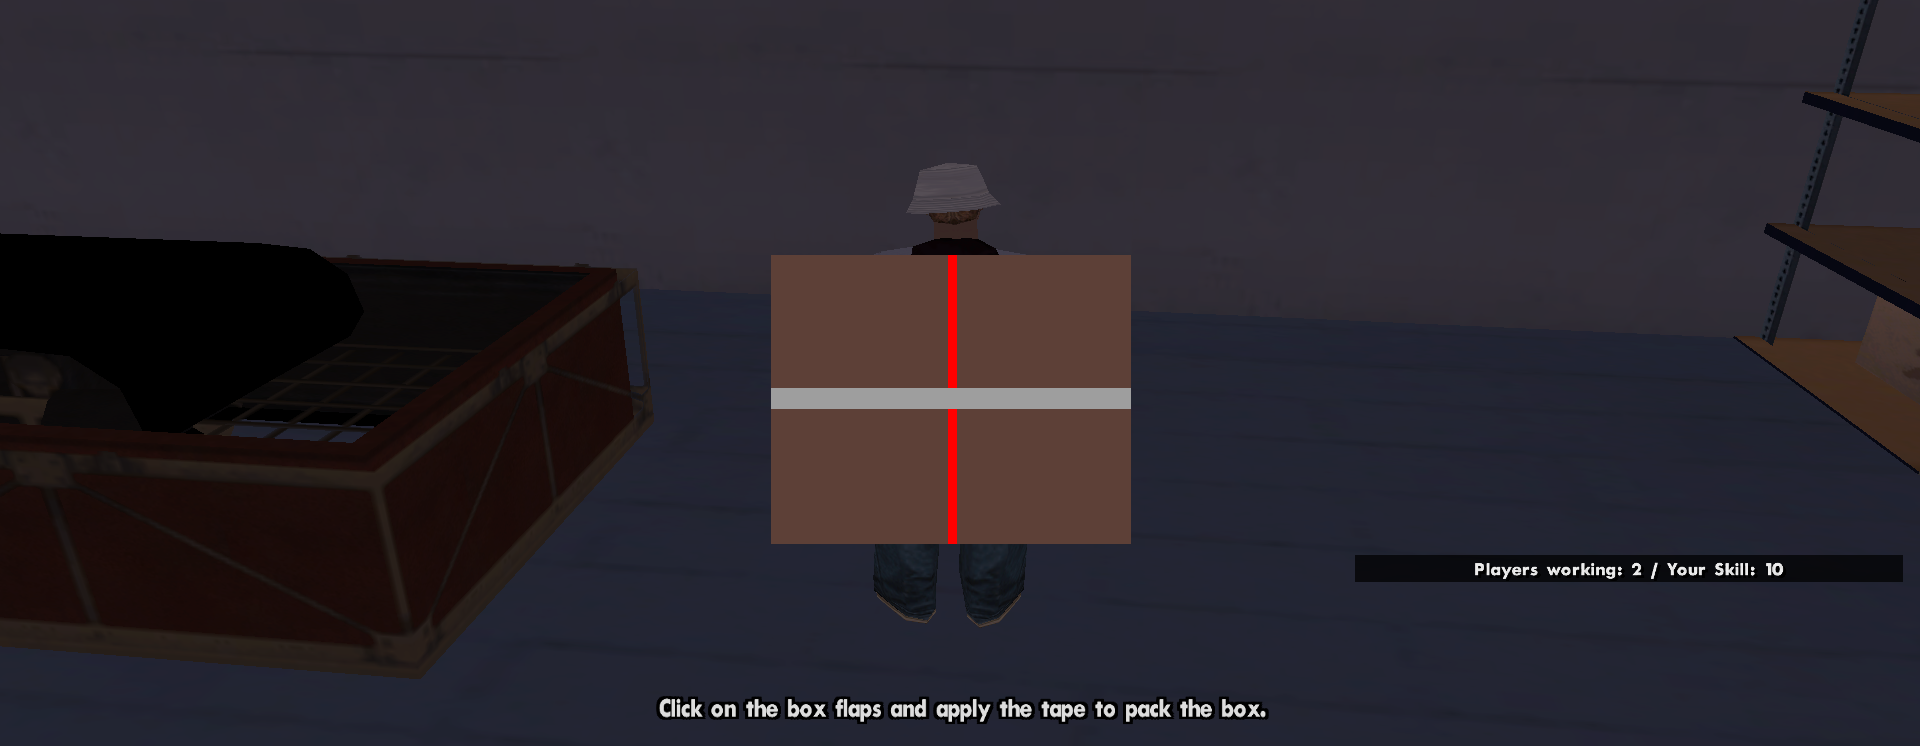
- Finished medicines mustsc packed and ready for delivery. (see images #7)
- You will approach the packing table, where a top view of a completely opened cardboard box will appear in the middle of the screen.
- The first step is folding the box: using the mouse, you will click individually on each flap (left, right, top, bottom) to close it.
- The second step is sealing: once folded, tape indicators will appear on the screen. By clicking on them, you will trigger an extremely fluid animation through which a roll of tape will seal the box perfectly, pulling one tape horizontally and one vertically.
Logistics Storage
- Once the box is sealed with tape, the system will automatically apply a specific lifting animation, locking your hands and giving the real feeling of weight.
- You will have to carefully move around the laboratory and place the box on the designated storage shelves.
- This entire cycle (from packing table to shelf) will need to be repeated until you have packed and stacked a total of 6 boxes.
- Once you have placed the last box on the shelf, the production stage inside the lab is considered complete.
- To complete the job and receive your payment, you will need to exit the lab.
Earnings and particularities depending on skill
Skill 1
- Random between $1872 and $1972.
- 30% chance to receive a Medical Kit, 10% chance to receive an Addiction Kit.
Skill 2
- Random between $1934 and $2034.
- 35% chance to receive a Medical Kit, 15% chance to receive an Addiction Kit.
Skill 3
- Random between $1997 and $2097.
- 40% chance to receive a Medical Kit, 20% chance to receive an Addiction Kit.
Skill 4
- Random between $2059 and $2159.
- 45% chance to receive a Medical Kit, 25% chance to receive an Addiction Kit.
Skill 5
- Random between $2122 and $2222.
- 50% chance of receiving a Medical Kit, 30% chance of receiving an Addiction Kit.
Skill 6
- Random between $2236 and $2336.
- 50% chance of receiving a Medical Kit, 30% chance of receiving an Addiction Kit.
Skill 7
- Random between $2337 and $2437.
- 50% chance of receiving a Medical Kit, 30% chance of receiving an Addiction Kit.
Skill 8
- Random between $2405 and $2505.
- 50% chance of receiving a Medical Kit, 30% chance of receiving an Addiction Kit.
Skill 9
- Random between $2464 and $2564.
- 50% chance of receiving a Medical Kit, 30% chance of receiving an Addiction Kit.
Skill 10
- Random between $2509 and $2609.
- 50% chance of receiving a Medical Kit, 30% chance of receiving an Addiction Kit.
Note: The amounts of money mentioned are base payments. To these will be added any bonuses, for example from Premium Account, from Marathon or from Job of the Day.
Skill Advancement
- Skill 1 >> Skill 2: 30 runs. (30 total)
- Skill 2 >> Skill 3: 60 runs. (90 total)
- Skill 3 >> Skill 4: 120 runs. (210 total)
- Skill 4 >> Skill 5: 240 runs. (450 total)
- Skill 5 >> Skill 6: 200 runs. (650 total)
- Skill 6 >> Skill 7: 250 runs. (900 total)
- Skill 7 >> Skill 8: 300 runs. (1200 total)
- Skill 8 >> Skill 9: 350 runs. (1550 total)
- Skill 9 >> Skill 10: 350 runs. (1900 total)
Specific Commands
/work
This command allows you to start the job.
You need to be near the job location to execute the command. If this is not the case, the server will put a checkpoint on your map, marking the place where you need to go.
/usekit
This command allows you to use the kits received from the job.
You can hold medical kits that give you 100HP or addiction kits that reduce the addiction level by 30 units.
The command works even during wars.
Kits can be sold to other players through the /trade command.
Depending on the skill held, a player can hold a maximum of between 1 and 10 kits, equivalent to the skill level held.
Example:
- Skill 1 - 1 healing kit OR 1 addiction kit
- Skill 2 - 2 kits - 1 healing kit & 1 addiction kit OR 2 healing kits OR 2 addiction kits.